Photo Editor Apps
In the age of smartphones, everyone is a photographer. We capture hundreds of moments daily, but often, those snapshots need a little polish before they are ready for prime time. This is where the world of Photo Editor Apps steps in, transforming average images into stunning visual masterpieces right from the palm of your hand. Navigating the sheer volume of choices can be overwhelming, but selecting the right tool is the first step toward unlocking your true creative potential.

Whether you are a professional photographer needing RAW file support or a casual user looking for the perfect Instagram filter, there’s an app designed specifically for your needs. We are no longer tethered to desktop software; modern mobile applications offer sophisticated features that were unimaginable just a few years ago. Get ready to dive deep into the best tools available for mobile photo editing.
Why Mobile Editing is the New Standard
The shift toward mobile editing isn’t just about convenience; it’s about speed and efficiency. Smartphones have evolved into powerful portable cameras capable of capturing high-quality images, including DNG and RAW formats. This capability demands equally powerful and accessible editing software.
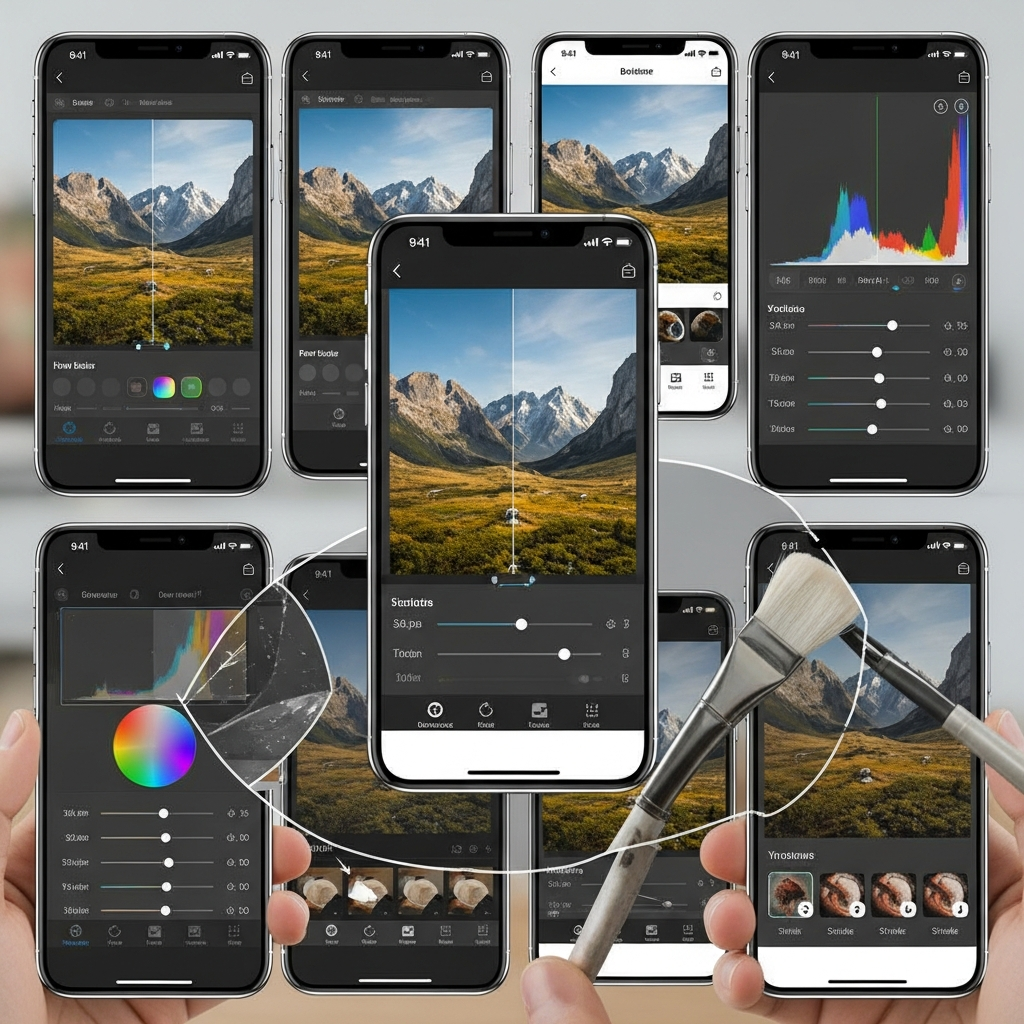
Modern Photo Editor Apps allow you to shoot, edit, and share a photo seamlessly within minutes. This rapid workflow is crucial for content creators, social media managers, and anyone documenting their life in real time. Furthermore, these apps often boast intuitive interfaces that make complex tasks like curve adjustments far less intimidating than their desktop counterparts. The barrier to entry for high-quality photo editing has been significantly lowered thanks to these user-friendly platforms.
Choosing the Best Photo Editor Apps
Finding the “best” app often depends entirely on your primary goal: do you need precise control, stunning filters, or speedy enhancements? The market is segmented, offering specialized tools for every niche. Understanding the categories is key to making an informed decision about the Photo Editor Apps that deserve space on your device.
The Professional Powerhouses
For users who demand granular control over every aspect of an image, these apps replicate the functionality of high-end desktop software. They often support non-destructive editing, meaning you can always revert to the original file. These tools are indispensable if you are serious about photography, offering masking, selective adjustments, and advanced color grading.
Adobe Lightroom Mobile is the industry standard, syncing all your edits across devices and offering powerful cloud storage. Snapseed, a free offering from Google, remains a favorite due to its incredibly comprehensive toolset, including unique healing tools and precise brush effects. These professional editors provide the detailed control necessary for tasks like fixing highlights or shadows in challenging lighting conditions.
The Social Media Specialists
If your editing focuses primarily on creating a consistent aesthetic or achieving a specific, trendy “vibe,” filter-based apps are your best bet. These editors prioritize speed and visual consistency through high-quality presets. They often include tools specifically tailored for social platforms, such as perfect sizing templates for Stories or Reels.
VSCO (Visual Supply Company) popularized the use of film-like filters and remains essential for its curated preset library. Apps like Tezza or A Color Story focus heavily on bright, clean aesthetics and highly specific color palettes, making them ideal for lifestyle and fashion bloggers. These tools allow for quick, trendy looks that maintain brand consistency across all shared content.
The Quick Fix Heroes
Sometimes, you don’t need a deep dive into color theory; you just need to remove a distracting object or fix a single element. Quick fix apps prioritize single-function excellence and simplicity. They are perfect for fast touch-ups before a photo goes live.

Editors embedded in devices (like Apple Photos or Google Photos) are excellent for basic cropping, rotation, and auto-enhancement features. For portraiture, apps like Facetune excel at cosmetic adjustments, offering smoothing, reshaping, and precise retouching tools for self-portraits. Their strength lies in providing a super-fast, immediate improvement without requiring a major time investment.
AI-Enhanced Editors
The newest wave of photo editing relies heavily on computational photography and Artificial Intelligence. These apps use machine learning to perform complex tasks, such as enhancing resolution, removing noise, or generating entirely new portrait styles, often with a one-tap transformation.
Lensa (known for its magic avatars) and Remini are excellent examples, specializing in restoring old, low-resolution photos or dramatically improving portrait sharpness. AI editing saves countless hours, particularly when dealing with images captured in poor light or needing significant cleanup. This technology is quickly becoming a game-changer for casual and serious users alike.
Essential Features Every Great App Must Have
Regardless of the app category you choose, there are foundational features that separate the truly superior editing tools from the basic ones. When evaluating a new app, ensure it includes these functionalities for maximum flexibility:
- Non-Destructive Editing: This allows you to make changes without overwriting the original image data. It’s a safety net essential for professionals.
- Layer and Masking Support: The ability to apply adjustments to only specific areas of an image is crucial for complex composites or selective color changes.
- Curves and Levels Adjustments: These are the most powerful tools for manually controlling tone and contrast across the image spectrum. Mastering the curves tool provides unmatched creative control.
- HSL (Hue, Saturation, Luminance) Sliders: Detailed HSL controls allow you to tweak individual color channels without affecting the rest of the image—perfect for correcting skin tones or enhancing natural landscapes.
- RAW File Compatibility: If your phone or camera shoots RAW (DNG format), the app must be able to process these large files efficiently while maintaining all the embedded data.
Tips for Mastering Your Mobile Editing Workflow
Even with the best tools, success depends on your process. Adopt these simple habits to elevate your mobile editing game:
- Edit in Batches for Consistency: When posting multiple photos, apply similar presets and adjustments to all images at once. This ensures your profile maintains a professional and coherent aesthetic.
- Calibrate Your Screen: Ensure your phone screen’s brightness and color settings are accurate before beginning an edit. What looks great on an overly bright screen might look dark elsewhere.
- Focus on the Vibe First, Details Second: Start with global adjustments (exposure, white balance) to establish the overall look. Only then should you move to precise local adjustments (sharpening, healing).
- Use the Histogram: This often-overlooked feature in professional apps shows the distribution of tones. Use it to prevent your shadows from being too dark or your highlights from being clipped. A balanced histogram is the key to perfect exposure.
Frequently Asked Questions (FAQ)
Q: Are Free Photo Editor Apps good enough for professional use?
A: Yes, many free apps, most notably Snapseed, offer professional-grade tools like curves, selective adjustments, and RAW support. While paid apps often provide advanced features like cloud syncing and extensive libraries (e.g., Lightroom), free options are highly capable for independent professional work.
Q: What is the difference between a filter and a preset?
A: A filter is usually a single-layer, often non-editable effect applied over an image. A preset is a collection of specific, editable adjustments (e.g., contrast increased, specific color channels adjusted, sharpening added) that can be applied in one click. Presets are generally preferred for greater flexibility.
Q: Should I edit my photos before or after applying a filter?
A: Always perform fundamental edits first. Adjust exposure, crop, and fix white balance before adding any stylistic filters or presets. Applying a preset early might mask underlying exposure problems, leading to a less professional result. Base corrections should always come first.
Q: Does editing reduce the quality of the photo?
A: Repetitive editing and saving in lossy formats (like JPEG) can reduce quality over time. Always edit using apps that support non-destructive workflows (saving edits separately) and save your final output in the highest possible quality setting to minimize compression artifacts.
*